How To Fray Jeans? Get the Perfect Frayed Look with These Simple Steps
Fray jeans are perfect for giving your outfit a unique, modern edge. As a denim lover, I always look for new ways to style my jeans. That’s why I’m excited to share my tips and tricks on how to fray jeans! In this blog post, I’ll walk you through the steps for fraying jeans, offering advice on everything from the best fabrics to how to use the right tools. Whether you’re a beginner or a pro, you’ll have your jeans looking stylish in no time. Don’t miss our recent post- How To Wear Frayed Jeans?
How To Fray Jeans?
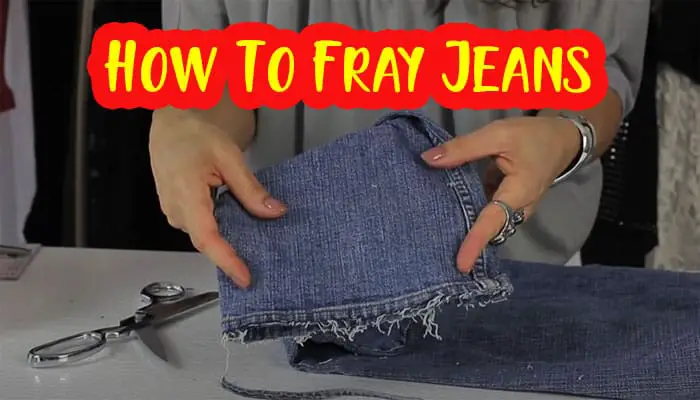
I love giving my jeans an edgy look. Fraying them is a great way to transform an ordinary pair of jeans without spending money. I can achieve the perfect frayed denim look with a few simple techniques. In this blog post, I want to show you how to get that DIY frayed jeans look everyone is talking about!
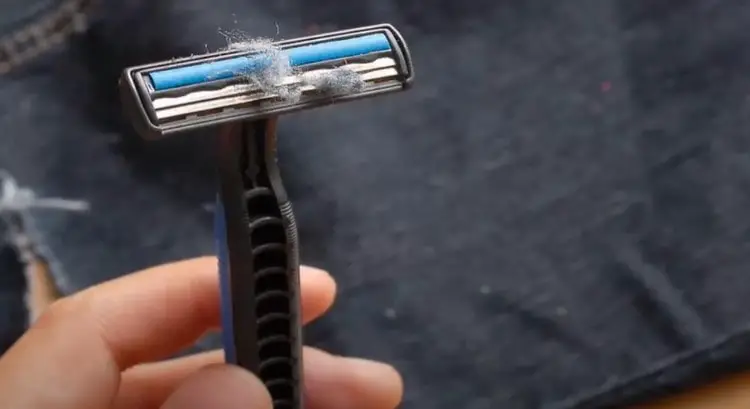
Method 1: How to Fray Jeans with a Razor:
Join me on an exciting fashion escapade as I unveil the captivating technique of frying jeans with a razor. Discover the artistry behind distressing denim as I embark on a personal journey of self-expression, infusing my wardrobe with a touch of individuality and flair.
Also Read: How To Fray Jeans Shorts?
Step 1: Wear the jeans and mark the desired length for fraying with a pencil.
Step 2: Carefully remove the jeans and lay them flat on a clean surface.
Step 3: Using a razor, gently scrape the marked areas horizontally and vertically, creating minor cuts and distressing the fabric.
Step 4: Repeat the process until you achieve the desired level of fraying.
Step 5: Toss the jeans in the washing machine to enhance the frayed edges for a natural look.
Method 2: How to Fray Jeans with Scissors:
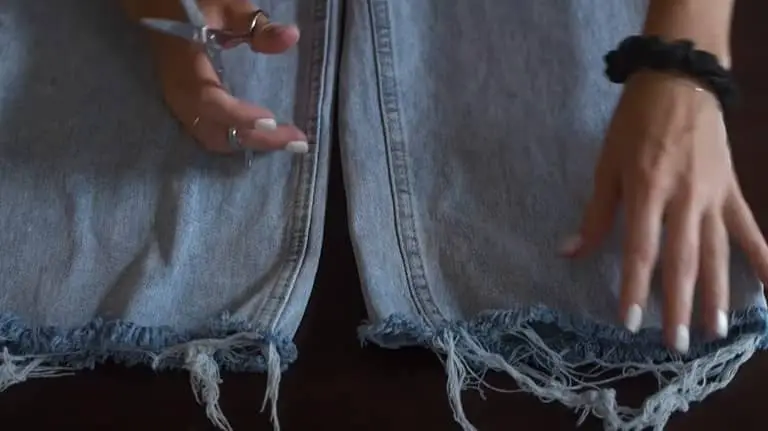
Ever wondered how to transform your old, boring jeans into a stylish, edgy masterpiece? Grab your scissors and join me as I reveal the secrets to frying jeans with scissors like a fashion-forward pro!
Step 1: Put on the jeans and use a pencil to mark the desired length for fraying.
Step 2: Take off the jeans and lay them flat on a flat surface.
Step 3: Carefully cut small horizontal slits along the marked area using scissors.
Step 4: After making the slits, gently pull on the threads to create a frayed effect.
Step 5: Repeat the process until you achieve the desired fraying style.
Step 6: To enhance the frayed look, wash the jeans and let them air dry.
Method 3: How to Fray Jeans with Sandpaper:
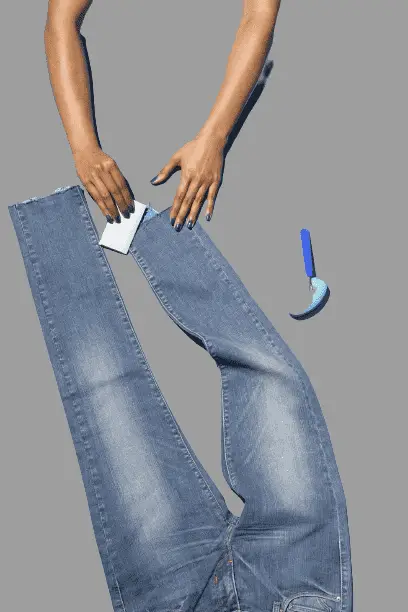
Are you ready to give your jeans a rugged, distressed look that screams casual cool? Join me on this adventure as I show you the art of frying jeans with sandpaper, adding a touch of effortless style to your wardrobe.
Step 1: Put on the jeans and mark the areas you want to fray.
Step 2: Remove the jeans and place them on a flat surface.
Step 3: Rub a piece of medium-grit sandpaper against the marked areas in a circular motion.
Step 4: Continue sanding until the fabric starts to fray and distress.
Step 5: Use coarse sandpaper for a more pronounced effect on specific areas.
Step 6: Wash the jeans to remove residual sand particles and enjoy your newly frayed denim!
Advanced Fraying Techniques:
Try these advanced techniques if you’re feeling adventurous and want to take your jeans fraying skills to the next level.
Method 4: Bleaching and Fraying Jeans:

Get ready to dive into the world of DIY denim transformations. Today, I’ll guide you through the exhilarating process of frying jeans with bleaching, giving your denim a unique, faded aesthetic that oozes personality and trendsetting vibes.
Step 1: Put on protective gloves and mix equal parts bleach and water in a spray bottle.
Step 2: Lay the jeans flat and spray the desired areas with bleach.
Step 3: Allow the bleach to sit for a few minutes, monitoring the colour change.
Step 4: Rinse the jeans thoroughly to stop the bleaching process.
Step 5: Once dry, use the razor or scissors to fray the bleached areas, adding a distressed touch to the jeans.
Method 5: Acid Washing:
Prepare to embark on a sartorial journey that will take your jeans to the next level of awesomeness. Join me as I unveil the mesmerizing technique of frying jeans with acid washing, creating an effortlessly chic and utterly captivating look bound to turn heads wherever you go.
Step 1: Create a solution of equal bleach and water in a large plastic tub.
Step 2: Submerge the jeans in the solution, leaving them for several hours or overnight.
Step 3: Remove the jeans and rinse them thoroughly to stop bleaching.
Step 4: Let the jeans dry completely.
Step 5: Distress and fray the acid-washed areas using sandpaper or a razor to achieve a worn-out look.
Method 6: Embellishments and Fraying Jeans:

Today, I’m thrilled to guide you through a step-by-step journey into embellishments and fraying jeans. I’ll uncover the secrets of transforming ordinary denim into a personalized work of art as I explore techniques, materials, and creative ideas to bring your jeans to life with stunning embellishments and meticulously frayed details.
Step 1: Gather your favourite embellishments, such as studs, patches, or embroidery threads.
Step 2: Decide on the placement of the embellishments and secure them onto the jeans.
Step 3: Use scissors or sandpaper to fray the areas around the embellishments, blending them seamlessly into the design.
Step 4: Feel free to get creative and experiment with different combinations of embellishments and fraying techniques.
Common Mistakes to Avoid
Distressing your jeans is a fun and trendy DIY activity. It takes effort to accomplish this task in the comfort of your home. However, avoiding common mistakes is essential to achieve the best outcome. Here are my top 5 tips for achieving perfect frayed jeans:
- Fraying jeans takes patience, so take your time to get the desired look.
- Invest in sharp scissors or a rotary cutter for the best results.
- Choose jeans with a soft, lightweight fabric for the best fraying results.
- To avoid unwanted fraying in the wrong areas, begin at the bottom of the jeans and work your way up.
- Frayed jeans should have a neat, intentional look, so don’t over-fray and keep the fabric in the same direction for a more uniform look.
Frequently Asked Questions (FAQs)
Can I fray any jeans?
Yes, you can fray any jeans. But for the best results, classic blue and white denim is preferable. It’s best to start with a pair of already distressed jeans, as they fray more easily. If you want to give your jeans a unique look, try customizing the fraying using a razor or scissors to create the desired shapes and sizes. Developing your style of frayed jeans is easy with a bit of patience and creativity.
How long does it take to fray jeans?
Fraying jeans is a great way to add texture and character to your look. This is a project for frying jeans that you can do in just a few easy steps. Depending on the type of jeans and how much fraying you want, it can take anywhere from a few hours to a few days to fray your jeans. With patience and suitable materials, you can quickly have a unique and stylish pair of jeans!
What should I do if I don’t like the fraying results?
If I don’t like the fraying results of my jeans, the best thing to do is to start over and adjust the process. I suggest starting with a smaller fray and working to the desired look. I recommend deciding upon the type of fray I want, whether it is a distressed look or a softer, more casual look. I can achieve the frayed look I desire with careful attention to the techniques and materials.
Conclusion
Fraying jeans can be a great way to add a unique, stylish touch to your wardrobe. With a few easy steps and some supplies, you can transform an old pair of jeans into a fashionable and fun look worn for any occasion. So if you want to freshen up your wardrobe, why not try fraying jeans?