A Comprehensive Step-by-Step Guide to Converting High-Rise Jeans into Low-Rise Jeans
It seems like yesterday that low-rise jeans were all the rage. But, like all trends, they eventually faded, and high-rise jeans took their place. So now, if you’re like me, you’ve got a few pairs of high-rise jeans in your closet that you don’t wear as often as you used to. But don’t fret! I’m here to show you how to convert high-rise jeans into low-rise that you can rock every day.
Read our latest post about- How to Style High-Rise Jeans?
List of Supplies Needed
If you plan to convert your high-rise jeans into low-rise jeans, you must have all the necessary supplies. Here’s a list of what you’ll need:
- High-rise jeans
- Measuring tape
- Chalk or pins
- Scissors
- Sewing machine or needle and thread
- Iron
- Optional embellishments such as studs, patches, or embroidery.
How to Convert High-Rise Jeans into Low Rise?

Hey! I’m sure we’ve all run into the issue of not being able to find that perfect pair of low-rise jeans. But, of course, we can still see the ideal denim! So, in this blog post, I will show you how to take a pair of high-rise jeans and convert them into low-rise jeans. But first, here’s what you need to know:
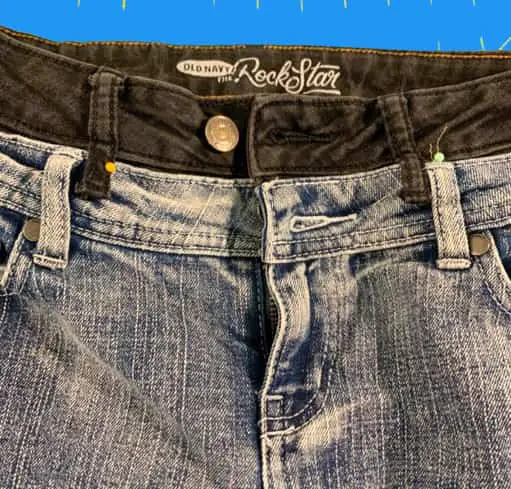
Step 1: Measure
Start by determining where you want the new waistline to be. Use a measuring tape to measure the distance from your natural waistline to where you want the new waistline to be. Mark the spot with a marker or chalk.
Step 2: Cut
Cut off the excess fabric using scissors above the mark you made. Make sure to leave enough seam allowance for hemming.
Step 3: Hem
Fold the cut edge and hem it securely with a sewing machine or needle and thread. Make sure the hem is straight and even. If you’re using a sewing machine, sew a straight stitch along the hemline. If you’re using a needle and thread, use a hemming stitch.
Step 4: Repeat
Repeat Steps 2-4 on the back of the jeans to ensure that the waistline is even on both sides.
Step 5: Try On
Try the jeans to ensure the new waistline is comfortable and fits well. If the waistline needs to be adjusted, use a seam ripper to undo the stitches and make the necessary changes.
Step 6: Adjust
If the waistline needs to be adjusted, make the necessary changes and try on the jeans again to ensure a good fit.
Step 7: Finish
Once you’re happy with the fit, finish the hem by trimming any excess fabric and securing it with a zigzag stitch or serger. This will prevent fraying and ensure that the hemline is neat.
Step 8: Iron the Waistband
Now, it is time to iron it. This will help to make the waistband stay in place and look neat. Use a medium heat setting and press the waistband with the iron.
Step 9: Embellish (Optional)
If you want to add personal flair to your new low-rise jeans, you can add embellishments like patches, studs, or embroidery. So get creative and make them your own!
Step 10: Style
Finally, style your new low-rise jeans with a crop top or tucked-in blouse to show off your new waistline. Pair them with your favorite shoes and accessories to complete the look.
Some Tips to Convert high rise jeans in low Rise
Do you have a pair of high-rise jeans you never wear because they don’t fit your style? Don’t throw them away just yet! Here are five tips for converting high-rise jeans into low-rise jeans:
- Measure where you want the new waistline to be.
- Cut the excess fabric above the mark you made.
- Hem the cut edge securely.
- Repeat the process on the back of the jeans.
- Style with a crop top or tucked-in blouse to show off your new waistline.
Conclusion
Converting your high-rise jeans to low-rise jeans is an easy and creative way to get new life out of old jeans. You can create a pair of low-rise jeans that fit you perfectly with simple sewing and cutting. The process is simple, and with a bit of practice, you can master the technique quickly. Try it out and see how it works for you!